How to create an AWS lambda function in Visual Studio 2022 [Easy]
Many people think that creating a lambda function is hard, that's not true, you can create lambda many different way, many of them very easy, we are going for the visual studio path
Install AWS toolkit
To easily handle all the aws related task, amazon developed a nice extension for Visual studio, an "AWS Toolkit for Visual Studio", you can download from the marketplace, or the link is available at the amazon website https://aws.amazon.com/visualstudio/
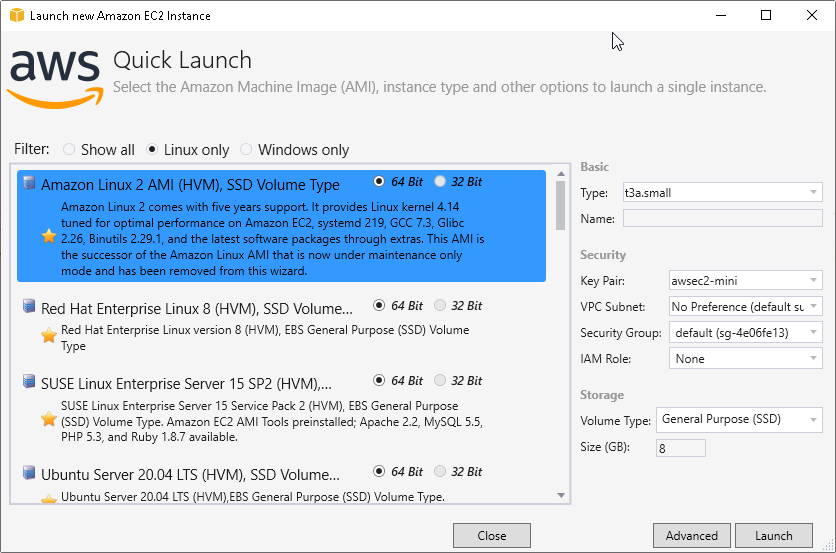
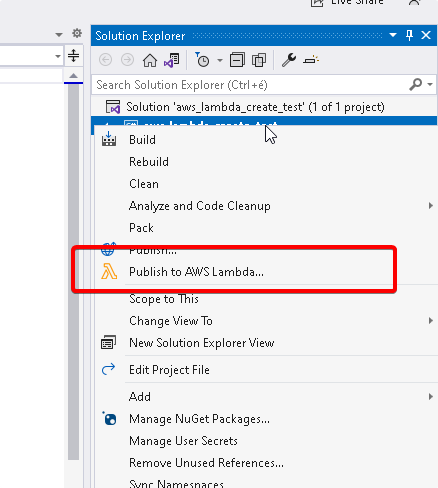
After installing you will have a very handy menu at the solution explorer (publish to aws lambda) - and extra tools / project templates in studio, you can manage many aws resource from visual studio - (i like it) - for example, you can launch ec2 instance directly from studio.
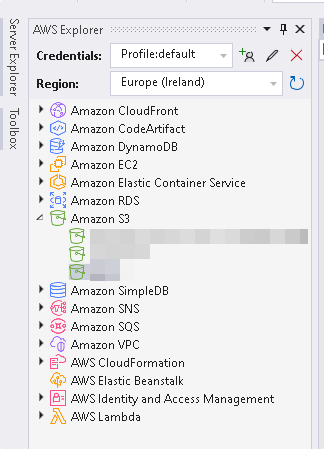
The AWS Explorer is a very nice handy tool, integrated into visual studio
Setup your aws credentials
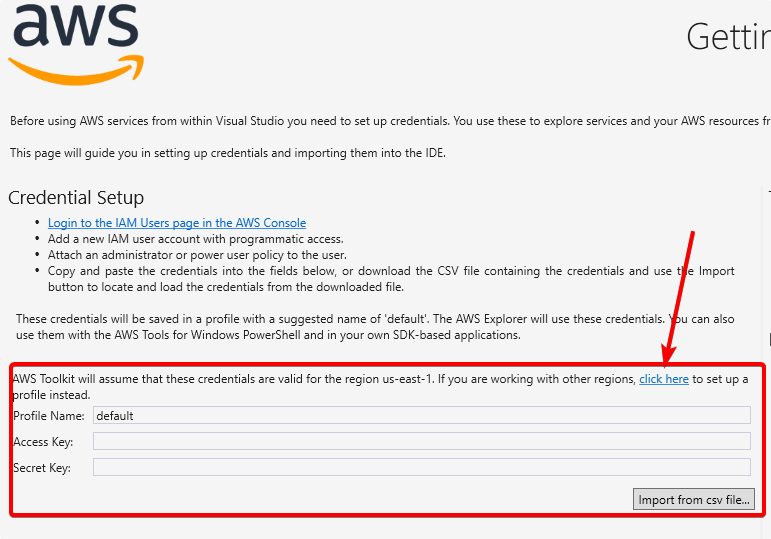
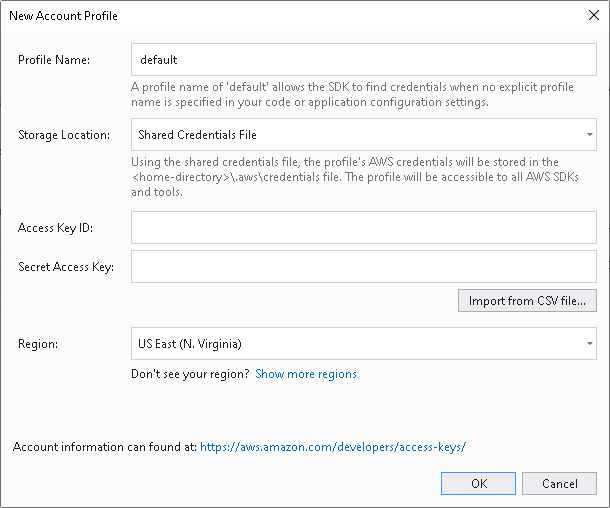
as a setup phase, you need to enter the aws credentials to have a smooth experience, if you are not the the us-east1 region, then click on the "click here", and you will get the account profile dialog, just enter the access key, and the secret key, and everything is ready-to-go.
The credential information will be store locally, in your profile (windows), under c:\users\XXX\.aws\credentials, you can use this credential information by the other aws tools, like the aws cli.
Create your lambda function
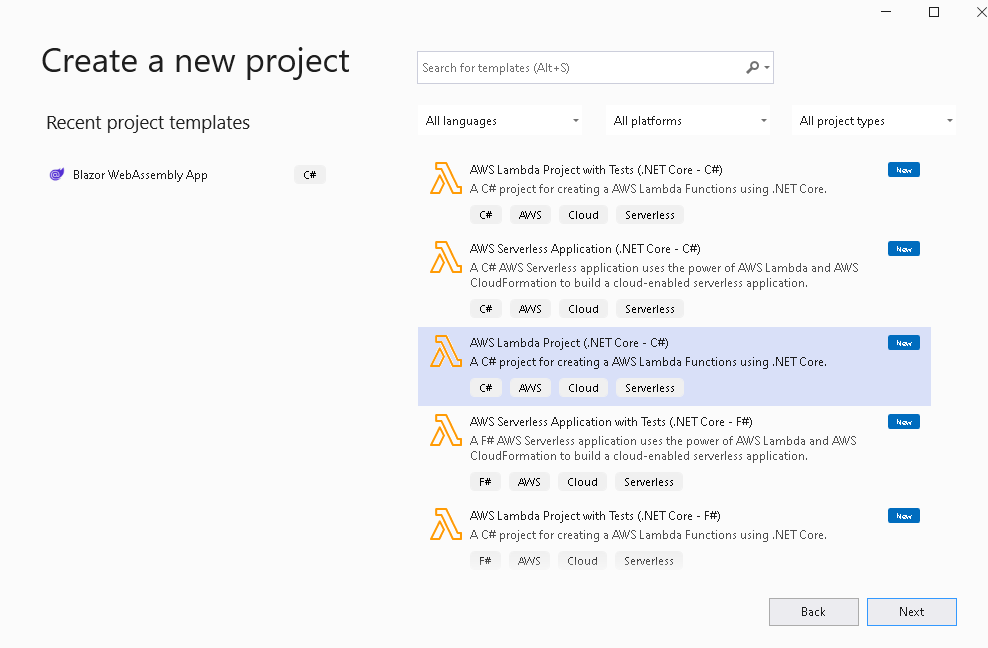
In visual studio, with the aws toolkit, creating a lambda function is easy like 1-2-3, just create a new project, and select the proper template from the dialog,
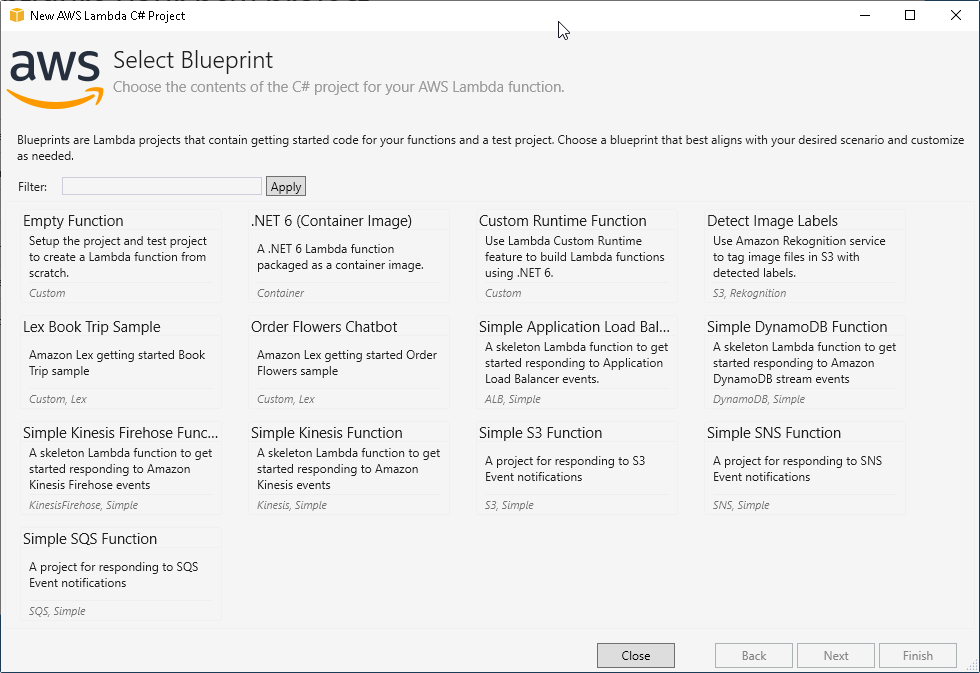
you can choose from many different blueprint, so you don't need to write the skeleton boilerplate code, everything will be ready on your table - quick server :-) - select the "empty function" blueprint for this test
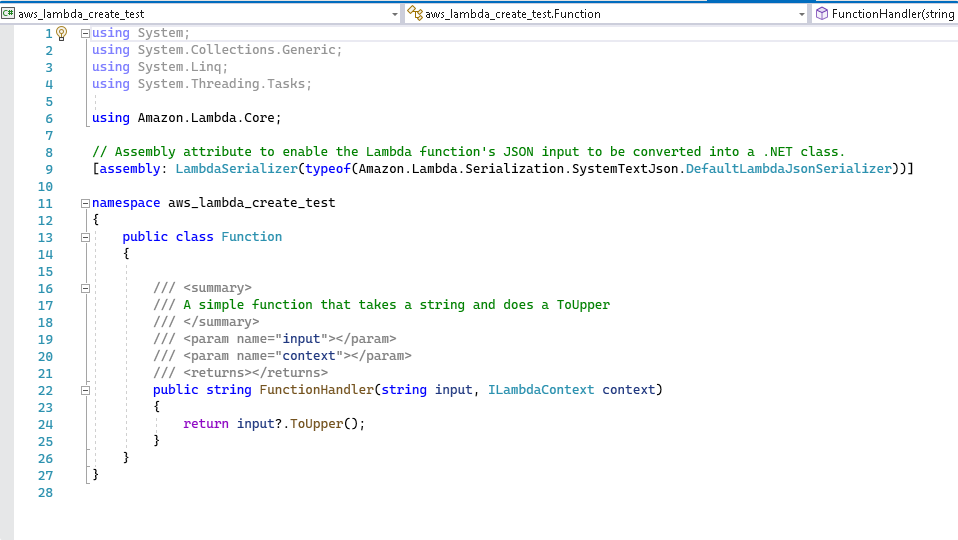
the ready made source is quite simple, but works like a charm, and it's a good starting point for your learning curve
Upload your work to aws
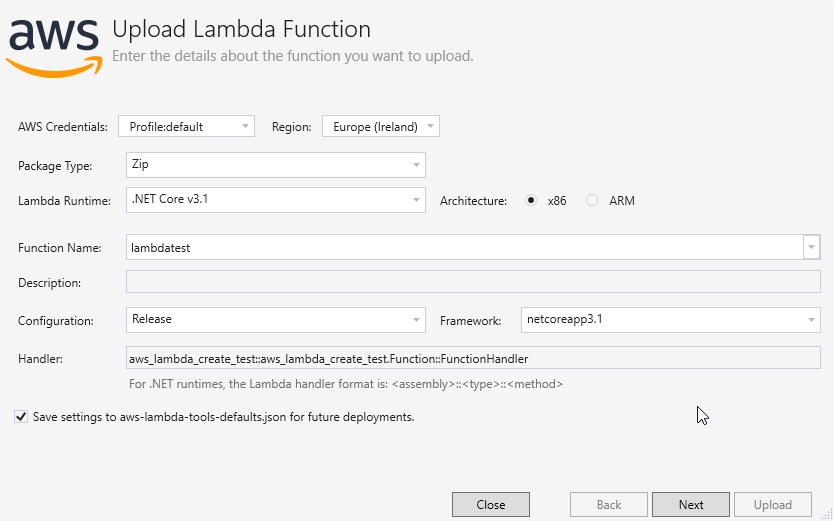
Let's upload it to the aws, of course the workflow also very well prepared by amazon, just press the "publish to aws lambda" in the solution explorer shortcut menu. a nice wizard will guide you through the process. At the first step, just enter somehthing in the "function name" field, and press next
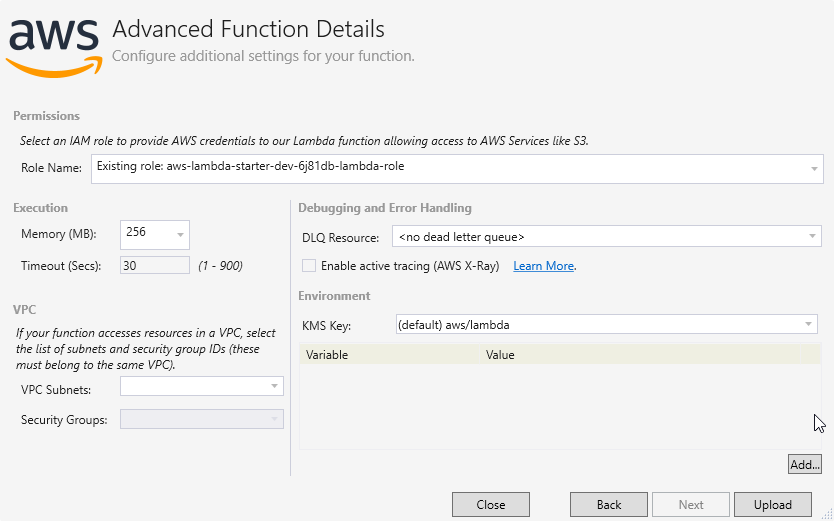
at the second step, you need to select an existing role (permission), for the function, or you can create a new one, you can fine tune many other parameters, but for this tutorial, let's go with the defaults.
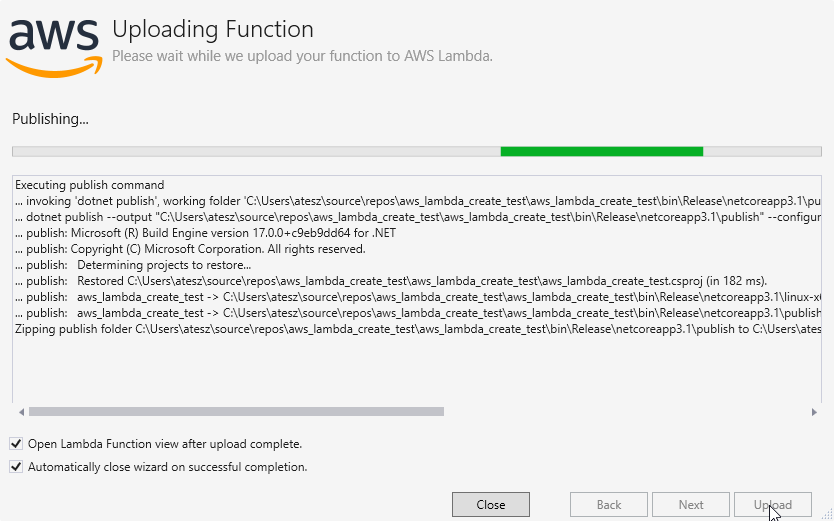
During the publising you will see the progress log output
Test your code
if everything gone smooth, you will arrive at the testing tool, you can enter some string into the input field, without that, you will get an error - as the lambda can't parse the empty input into string.
Important: this is an internal testing tool, you can test the lambda in many different was, like with api gateway, Read this for more possibility
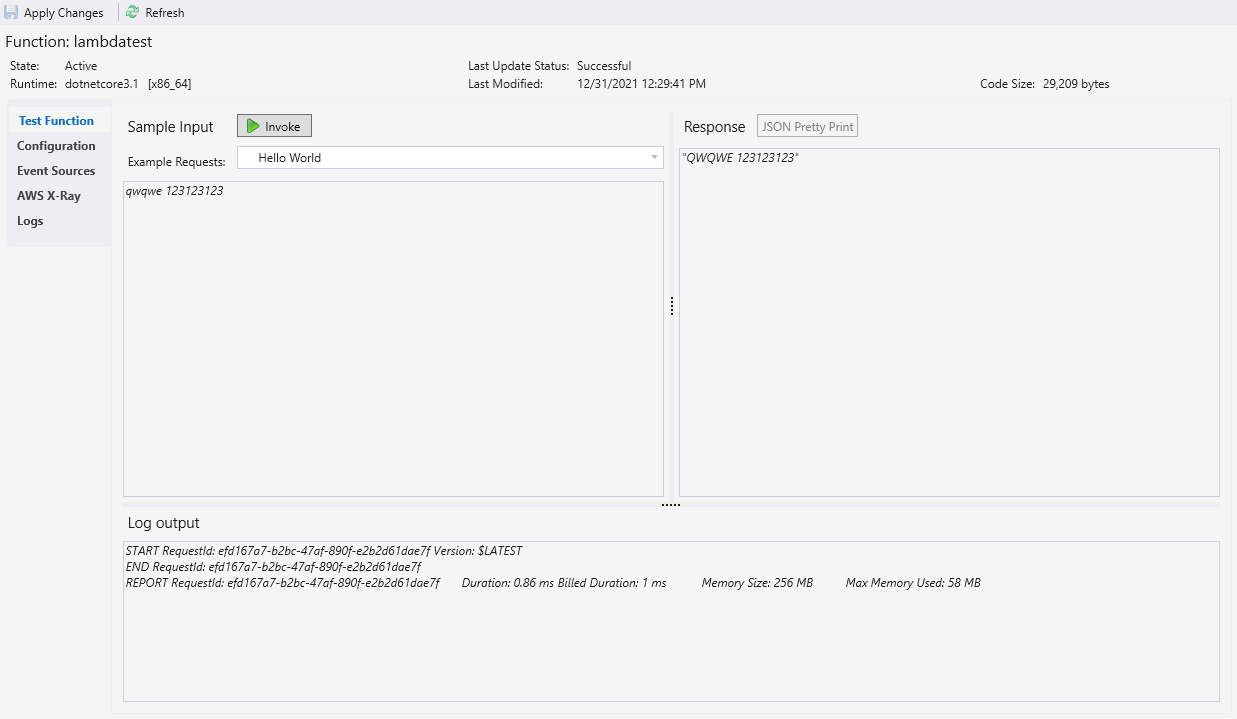
If you goto the aws lambda console, you will find the newly created serverless function, what you uploaded couple of sec ago. you can change the parameters also here, and you can do it during the upload phase (step1-2)
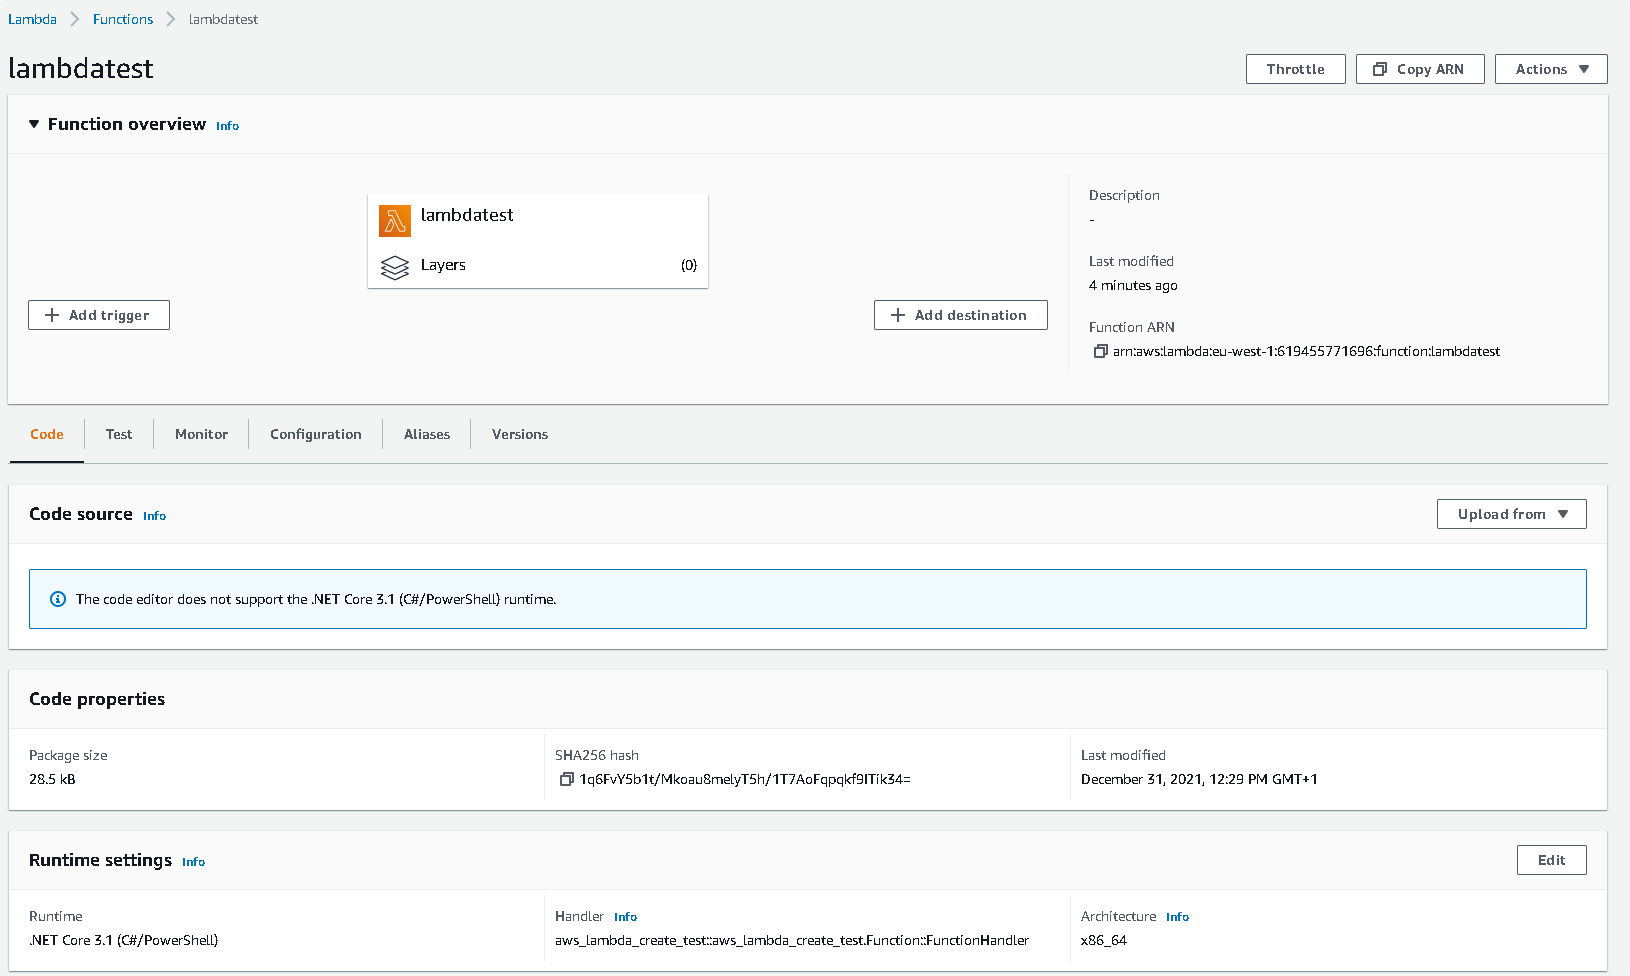
Good Job! you made your first aws lambda serverless function!
Conclusion
With the aws toolkit for visual studio, the developer job is very easy and the UI workflow is perfectly smooth